After owning the Atik 383L+ Mono CCD Camera for over three years now, I would say I am definitely qualified to write a review. I bought my camera back in 2013 when I lived in Ireland it was during the time when I transitioned from imaging with a Cooled and Modified DSLR Camera to Mono CCD Imaging. At the time I was considering one of two cameras, the QHY8 Mono CCD and the Atik 383L+ Mono CCD, at the time the QHY was slightly cheaper but the Cooling Delta and Readout Noise was better on the Atik despite the fact that they both used the Kodak KAF8300 chip.
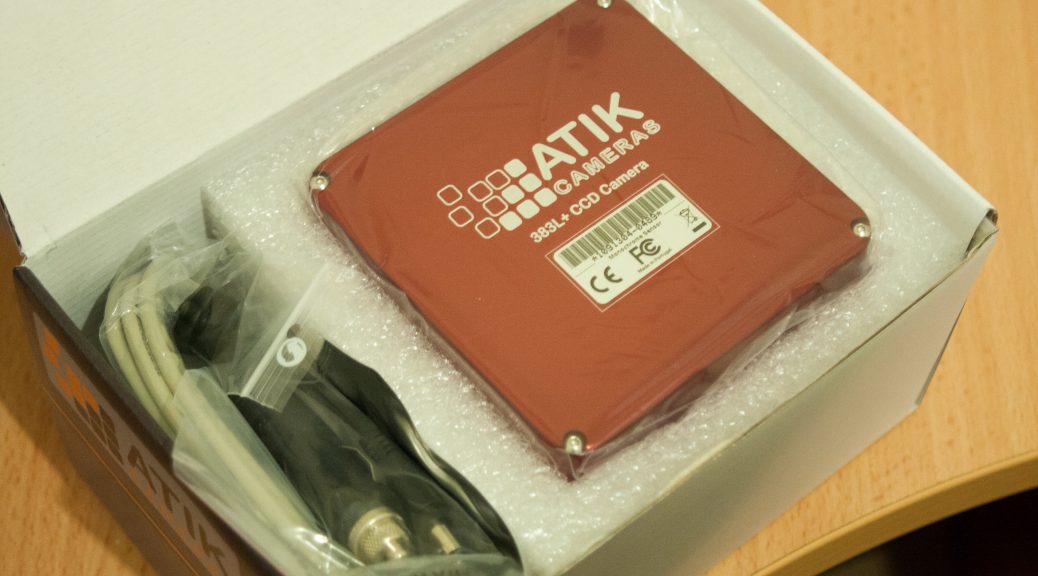
When I first received my camera, I was thoroughly impressed with the build quality, the red aluminium casing gave it a really professional feel to the camera and came complete with USB Cable, 12v Cigarette P ower Cable and Software Media, all packaged really well, and when taking the camera out of the box, you could tell that Atik had put a lot of effort and consideration into their build quality and finish of the camera. So far so good!
People quite often ask me how big the camera is, it just so happens that at the time I got my camera, I took a pi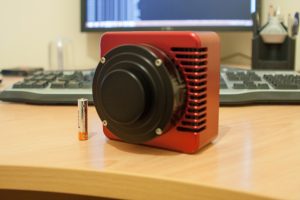 cture of the camera next to a AAA battery, just for comparison you can see that it is a fairly compact camera and at around 700g wasn’t too heavy either.
Because I couldn’t wait until my filterwheel had arrived, I wanted to test the camera functionality, so I installed all of the software onto my desktop PC and plugged the camera in. At the time I got the camera, I was using Nebulosity to perform my image acquisition, so the first thing to do was build my dark frames at my desired temperature of -20C. The dark frames showed very little in the way of noise which I was extremely happy with. The installation of Drivers and ASCOM Platform drivers all went perfectly without any problems, and Nebulosity worked well using the ASCOM Camera platform driver.
Once my filterwheel had arrived from StarlightXpress it was time to get the camera aquainted with the telescope, and at the time I was using an Astro-Tech 8 Inch Ritchey Chretien telescope on my already 3 Year Old NEQ6-Pro mount. Mating the camera to the filterwheel was relatively easy,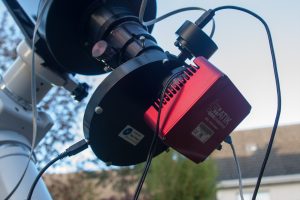 I placed a thin cork shim onto the male thread of the filterwheel and screwed the camera on and adjusted the rotation of the filterwheel adapter to make sure the camera was at the right angle, I used the rubber shim to stop the metal to metal binding which makes it difficult to remove later, adding in the cork shim still allows it to be tightened up.
Since I had built my dark frame library, it was time to build my flat frames library, for this I used an EL Panel, one of the things I noticed was that a short exposure time of <1.0 seconds left a dark area to the lower right of the frame, after speaking with Atik they confirmed it was just the mechanical shutter, so I had to reduce the light on the EL Panel in order to increase the exposure time to get around this, other than that my flat frame library was built.
My first light for the camera was going to come from NGC7635 – Bubble Nebula in Narrowband, and whilst I must admit my imaging has come a long way since 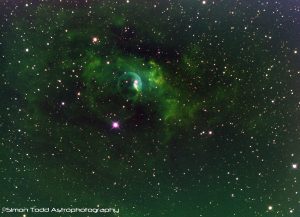 I took this picture, it is what it is and I was very happy with the results of sensitivity the camera delivered especially as this image is only 3x1800S frames for HA, OIII and SII. Since I have had the camera, I have produced a substantial number of images to date and continue to do so using my Atik 383L+ Mono CCD Camera.
So how does Atik fair with me as a company, well it just so happens that I had to send my camera away for service due to excessive moisture causing Ice Crystals during cooling, I filed a support ticket with them and within a few days I got my camera back completely moisture free, I do not blame the camera here for the moisture, but more the fact that when I had my observatory located 15 miles away, I used to forget to switch the camera power off which would push a lot of moisture through the camera. But the service from Atik was simply awesome.
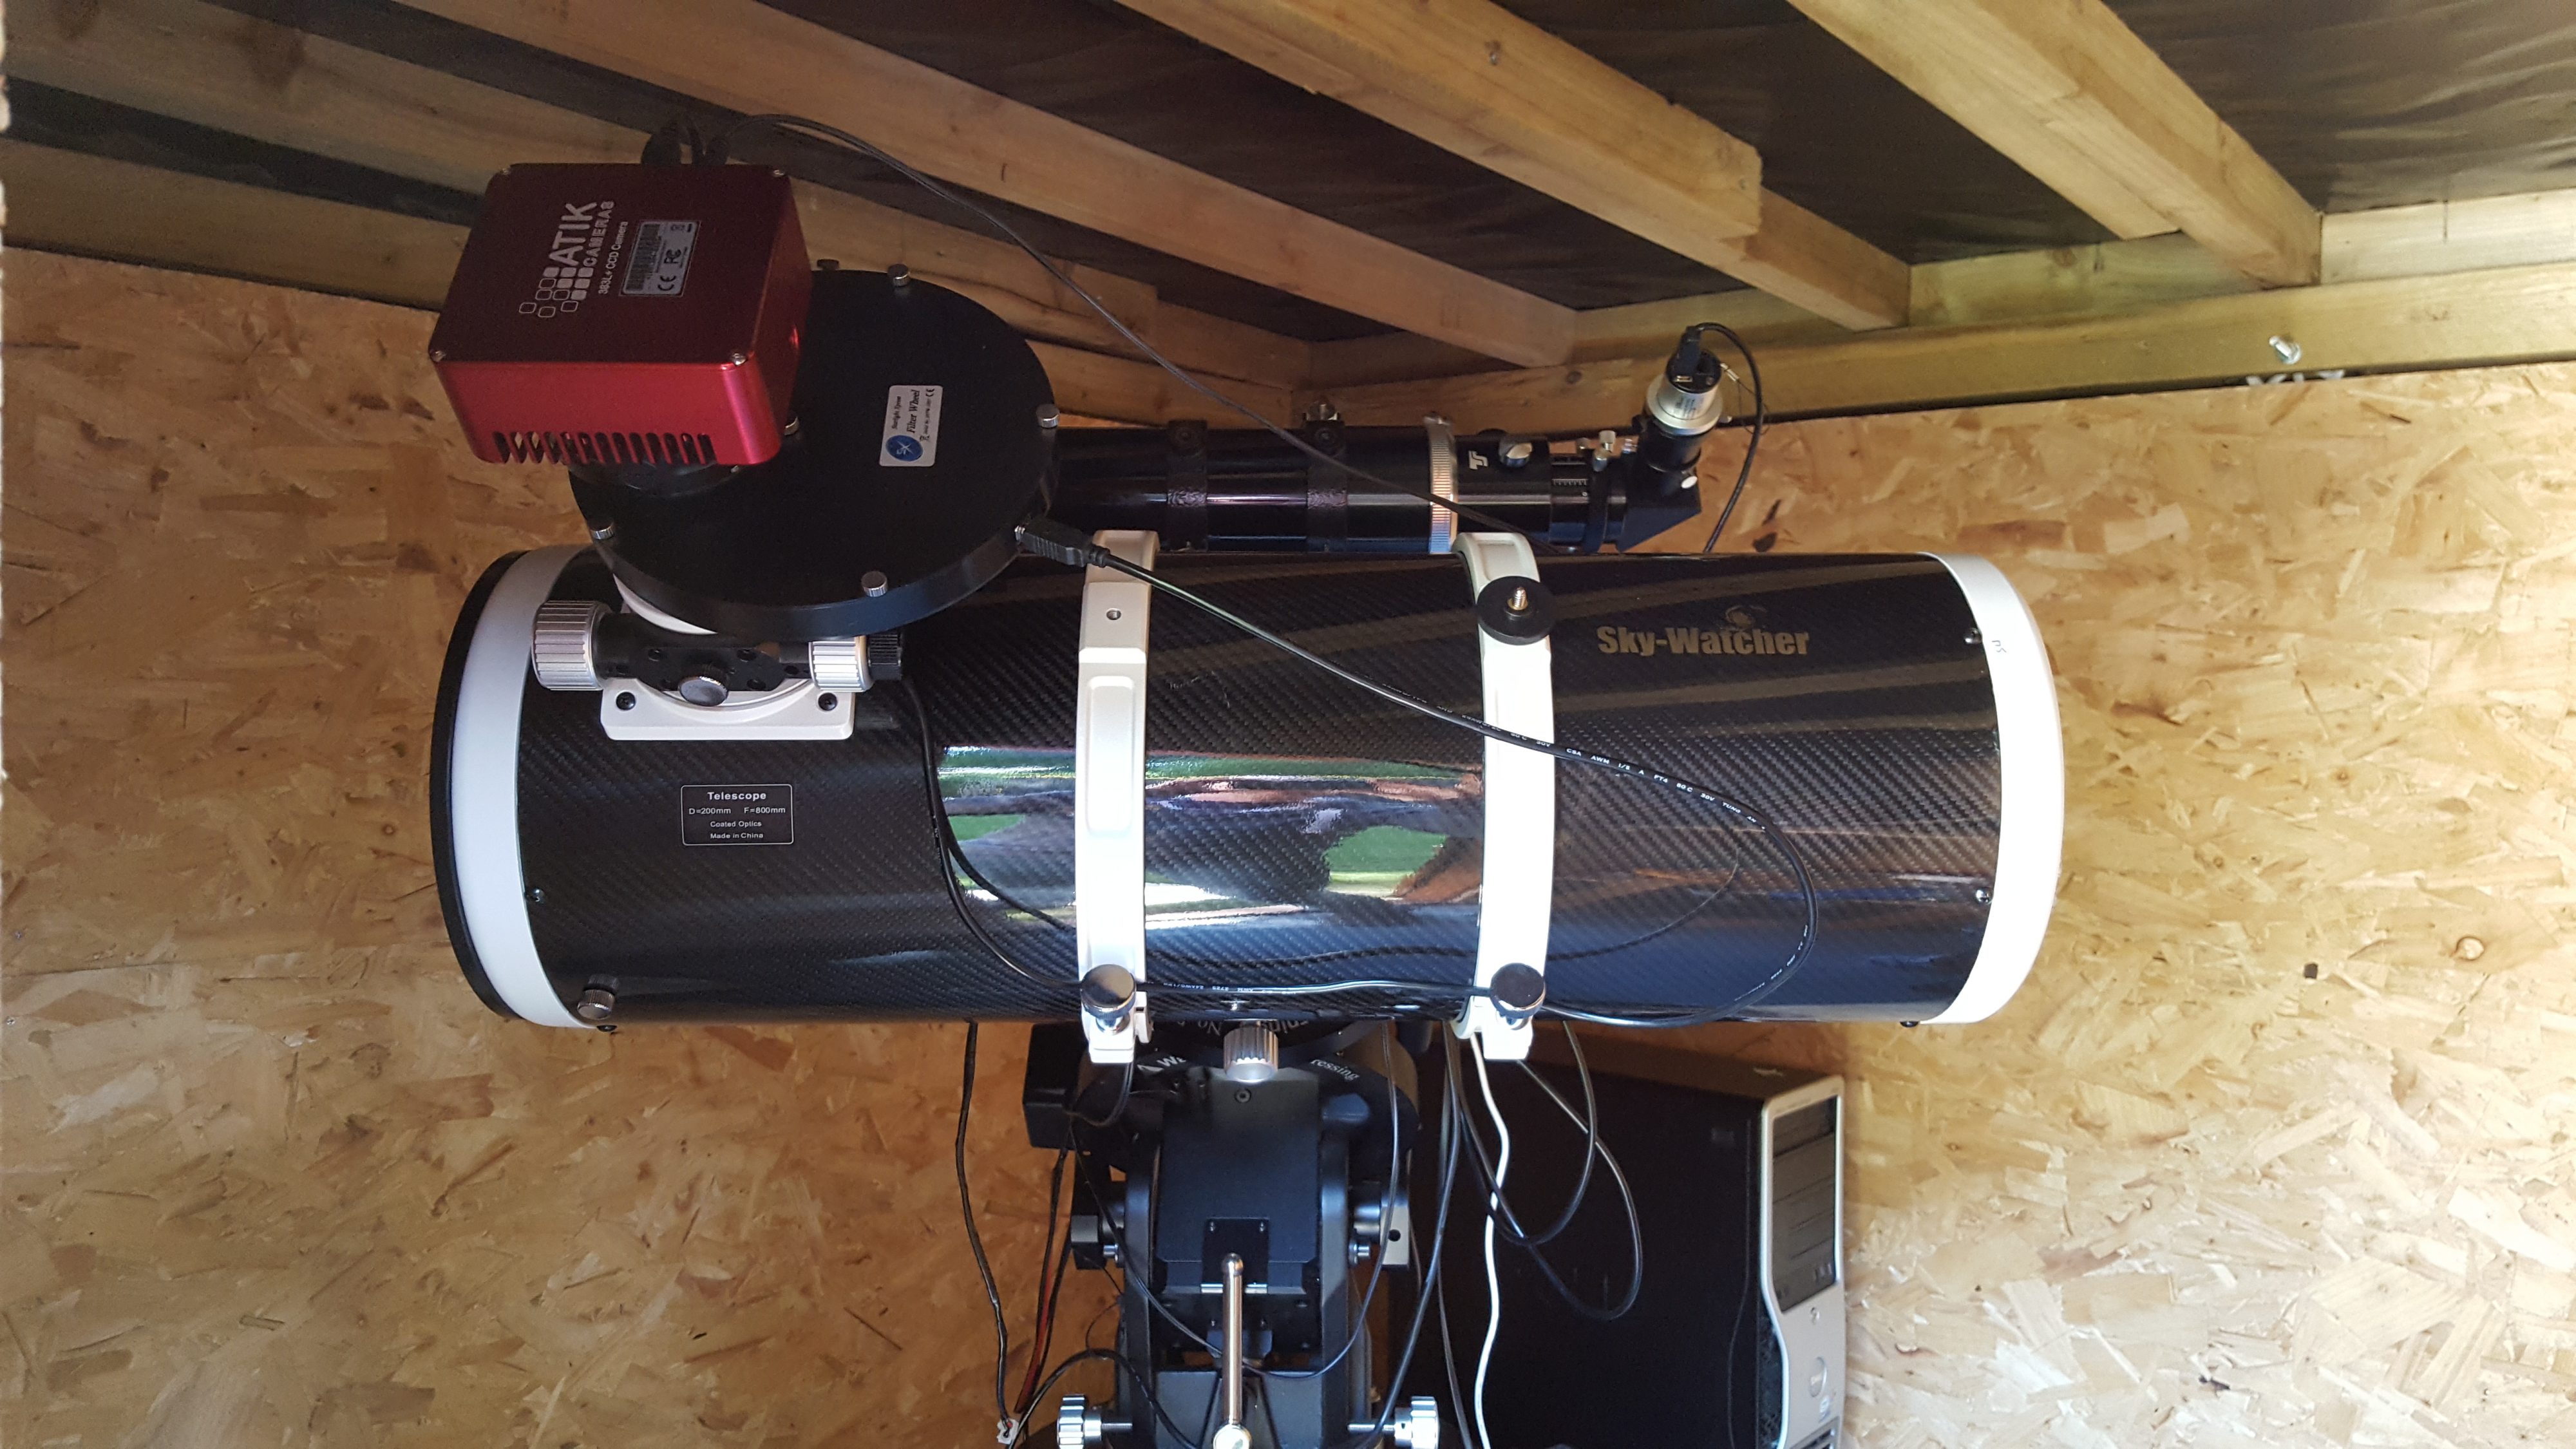
Here’s a picture of the camera still used today attached to my F4 Quattro, I use Sequence Generator Pro for all my target acquisitions today but still using the ASCOM Camera Driver which is extremely stable
Just to recap why I am happy with the camera:
- Build Quality
- Size and Weight
- Software Deployment
- Sensitivity
- Quietness of the camera
What could have been better?
- Power cable – This could have been a stretchable power cable as I did run into a problem recently where the cable became snagged and it ripped the wire out of the jack plug that plugs into the camera, fortunately it didn’t damage the plug in port of the camera
- Heated chip chamber, most cameras seem to have this now
- Different colour options – I would have loved the camera in Blue or Green
You can see many of the images I have taken with this camera in my CCD Image Gallery Section here

