Tag Archives: Astrophotography

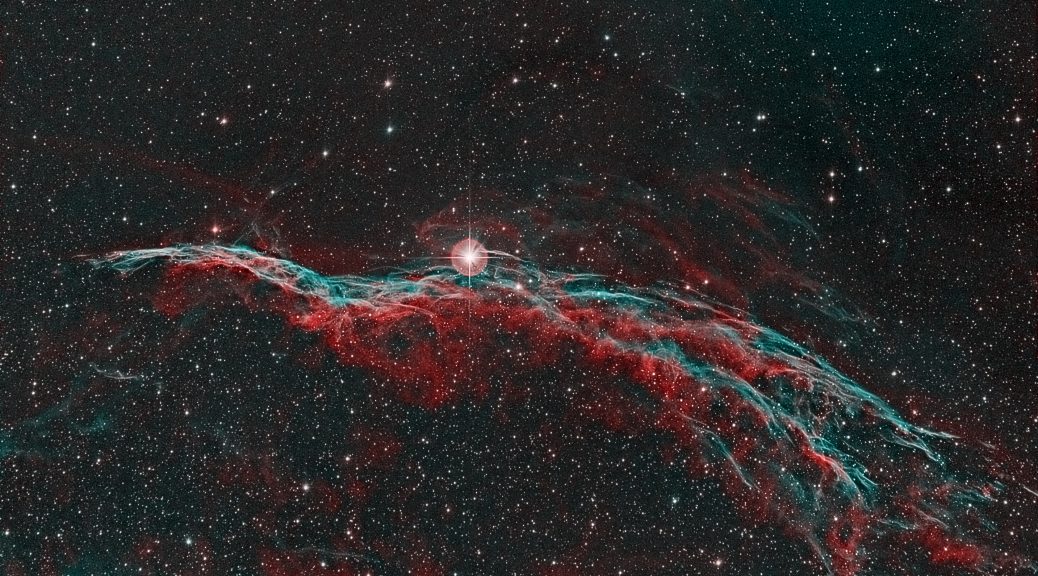
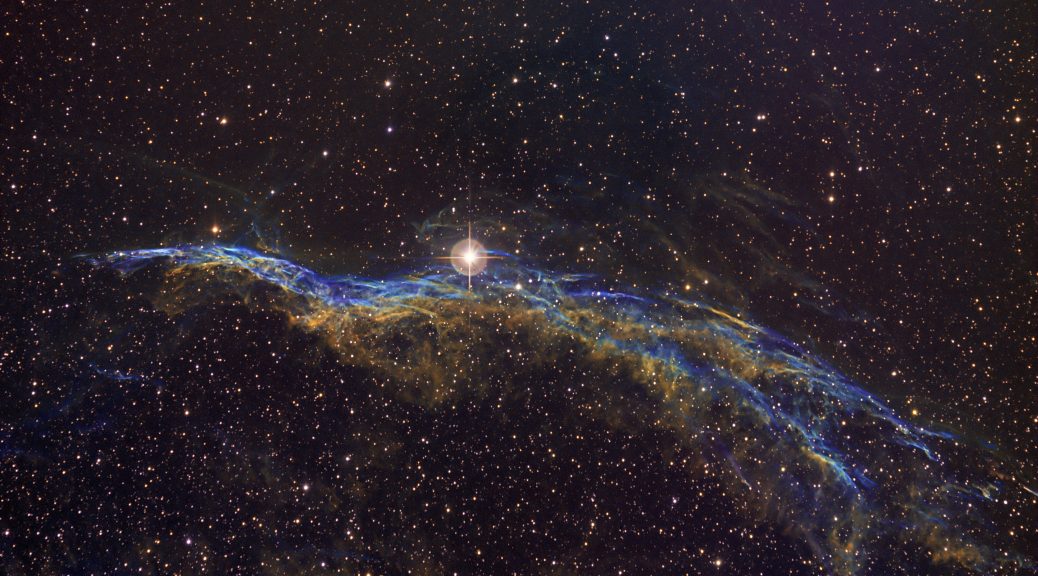
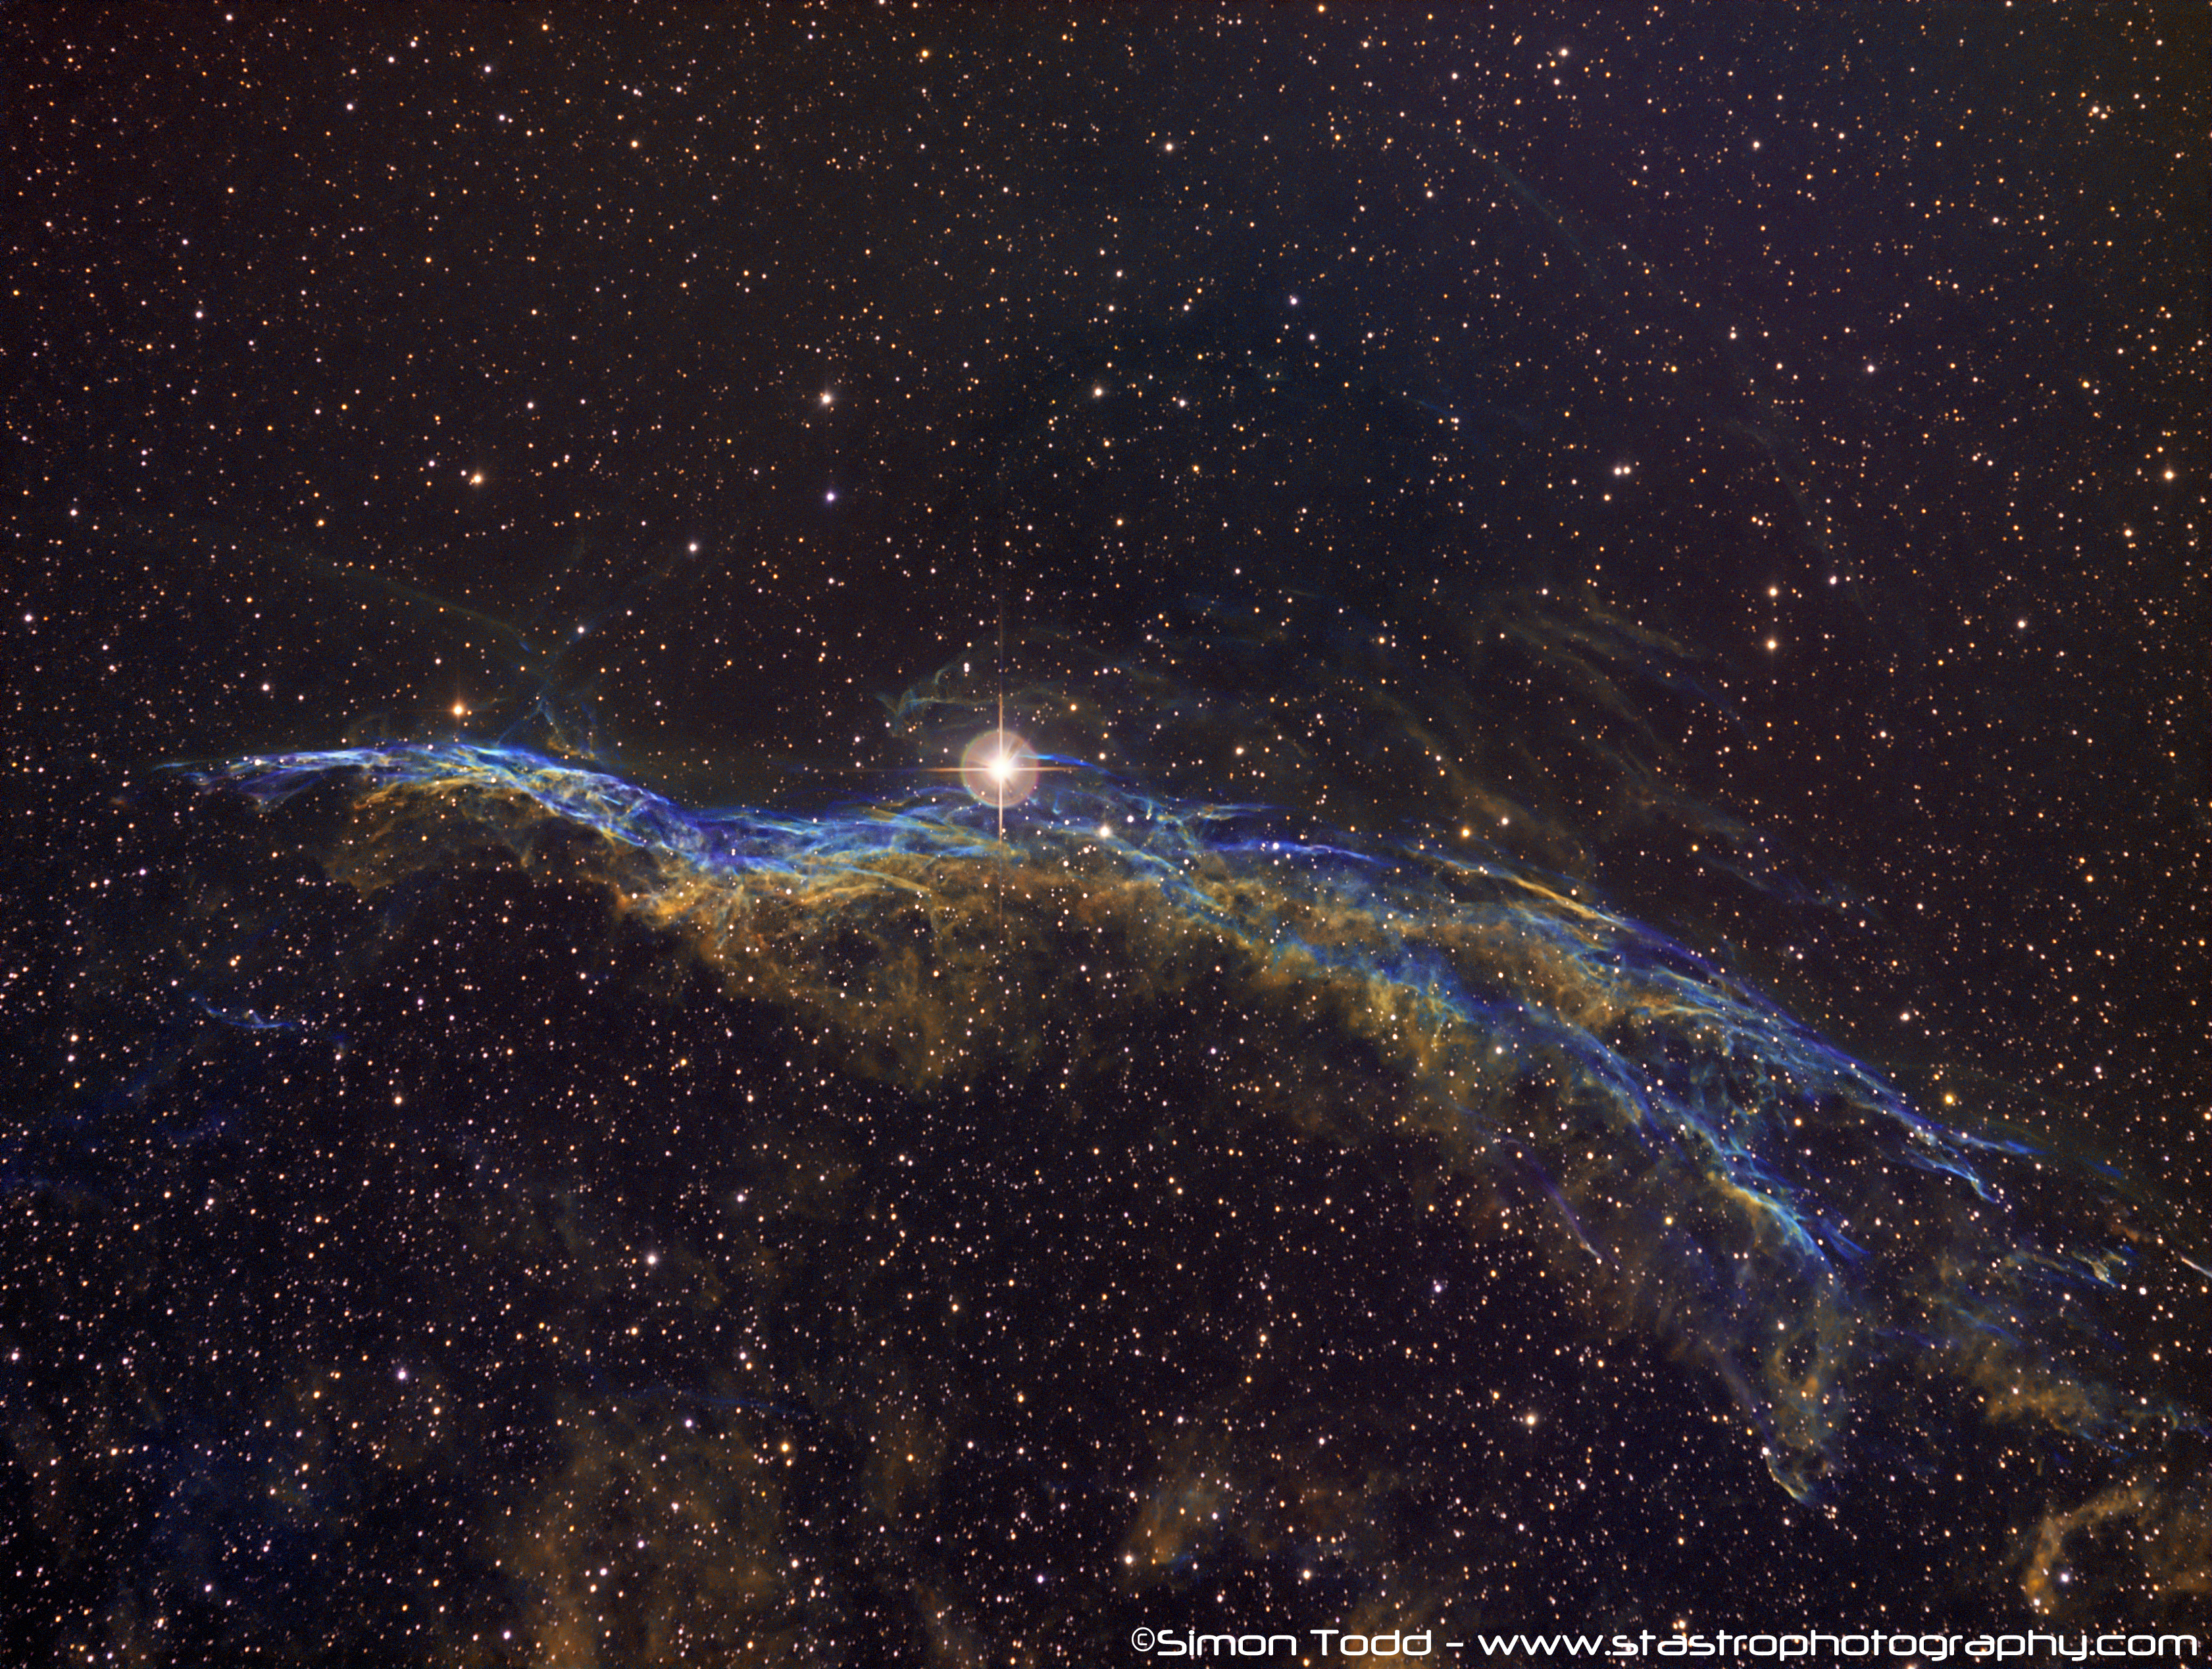
NGC6960 – Witch’s Broom Nebula in Hubble Palette Narrowband

NGC6960 - Witches Broom
NGC6960 – Witches Broom

How Fitting for Halloween……My latest image – NGC6960 – Witch’s Broom in Hubble Palette Narrowband

Commonly referred to as the Witch’s Broom or the Western Veil of the larger Veil Nebula, this lies approximately 1470 Light years away.

In my opinion this is not an easy subject to image, and even more difficult to process, the image details are as follows:

15x600S in 7nm HA
15x600S in 7nm SII
15x600S in 7nm OIII
25 Darks
25 Flats

The HA was also used as a Luminance Layer

Equipment Used:
Imaging Scope: Sky-Watcher Quattro 8-CF 8″ F4 Newtonian
Guide Scope: Celestron Telescopes C80ED Refractor
Mount: Sky-Watcher EQ8 Pro
Imaging Camera: Atik Cameras 383L+ Mono CCD Cooled to -20C
Guide Camera: Qhyccd QHY5L-II
Image Acquisition: Main Sequence Software Sequence Generator Pro
Guide Software: PHD2

Processing:
Pre-Processing: Maxim-DL for STacking, Darks and Flats Subtracting and Alignment of Colour Planes
Post Processing: Photoshop CS5, Noise Ninja

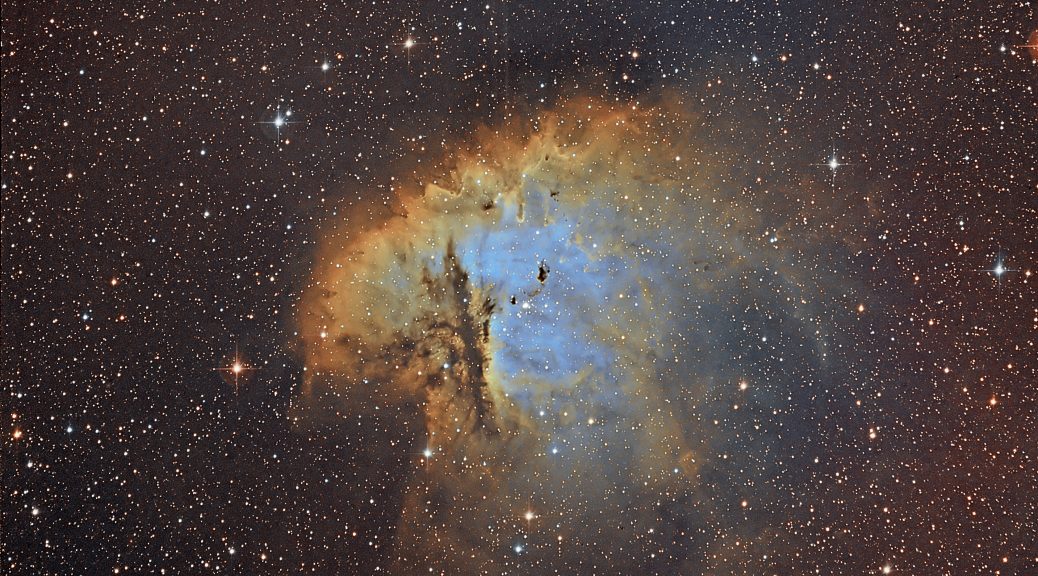
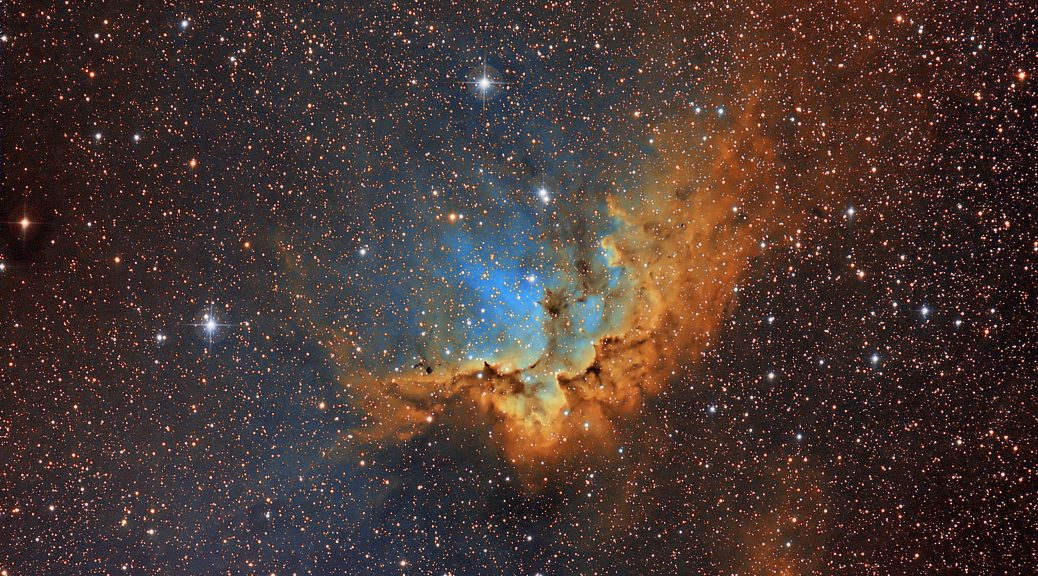
NGC7380 – Wizard Nebula in Hubble Palette Narrowband

Image Details:
22x 600S – 7nm HA
19x 600S – 7nm OIII
19x 600S – 7nm SII
25 Darks and 25 Flat frames for each filter

Equipment Used:
Imaging Scope: Sky-Watcher Quattro 8-CF 8″ F4 Newtonian
Guide Scope: Celestron Telescopes C80ED
Imaging Camera: Atik Cameras 383L+ Mono CCD Cooled to -20C
Guide Camera: Qhyccd 5L-II
Mount: Sky-Watcher EQ8 Pro
Capture Software: Main Sequence Software Sequence Generator Pro
Guide Software: PHD2
Dark/Flat Subtraction and Stacking: Maxim-DL
Post Processing: PixInsight

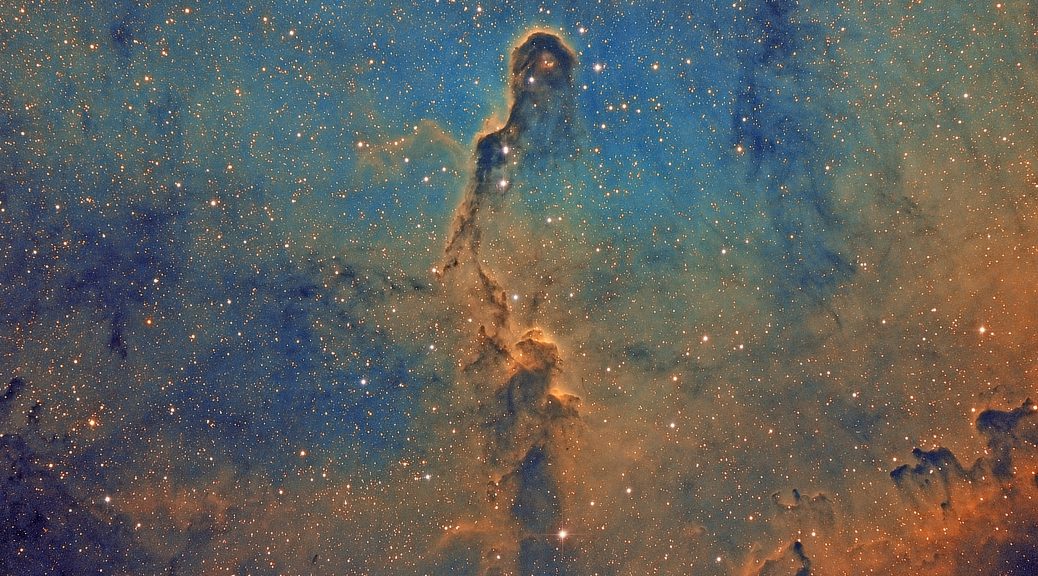
IC1396 – Elephant’s Trunk Nebula in Hubble Palette Narrowband

IC1396 – Elephant’s Trunk Nebula in Hubble Palette Narrowband

Image consists of
15x 600S – 7nm HA
15x 600s – 7nm OIII
15x 600s – 7nm SII

HA Layer was also used as Luminance and Overlay layer

All data was obtained over five nights, 7th and 8th September 18th September, 22nd September and 23rd September 2016

Equipment Used:
Imaging Scope: Sky-Watcher Quattro 8-CF 8″ F4 Newtonian
Guide Scope: Celestron Telescopes C80ED
Imaging Camera: Atik Cameras 383L+ Mono CCD Cooled to -20C
Guide Camera: Qhyccd 5L-II
Mount: Sky-Watcher EQ8 Pro
Capture Software: Main Sequence Software Sequence Generator Pro
Guide Software: PHD2
Dark/Flat Subtraction and Stacking: Maxim-DL
Post Processing: Photoshop

To date I think this is my best image so far, I am very happy with the results of the image and the colour balance obtained

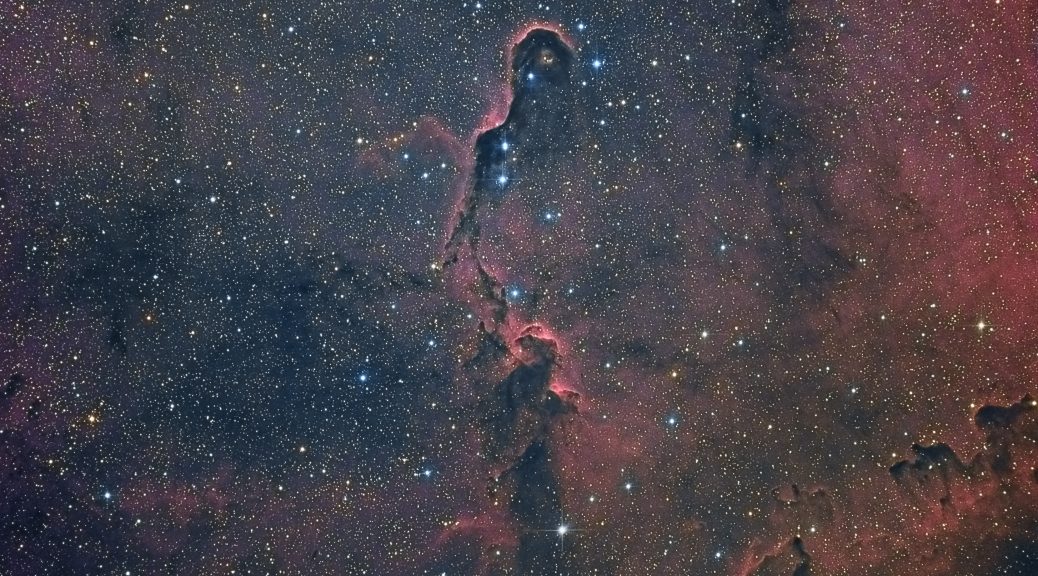
IC1396 – Elephant’s Trunk Nebula

IC1396 – Elephant’s Trunk Nebula

The Elephant’s Trunk nebula is a concentration of interstellar gas and dust within the much larger ionized gas region IC 1396 located in the constellation Cepheus about 2,400 light years away from Earth

Image consists of
18x 300S – Luminance
18x 300S – Red
18x 300S – Green
18x 300S – Blue
8x 600S – Hydrogen Alpha (As lighten layer in Red Channel)

All data was obtained over two nights, 7th and 8th September 2016

Equipment Used:
Imaging Scope: Sky-Watcher Quattro 8-CF 8″ F4 Newtonian
Guide Scope: Celestron Telescopes Telescopes C80ED
Imaging Camera: Atik Cameras Cameras 383L+ Mono CCD Cooled to -20C
Guide Camera: Qhyccd 5L-II
Mount: Sky-Watcher EQ8 Pro
Capture Software: Main Sequence Software Sequence Generator Pro
Guide Software: PHD2
Dark/Flat Subtraction and Stacking: Maxim-DL
Post Processing: Photoshop, GradientXterminator, NoiseNinja

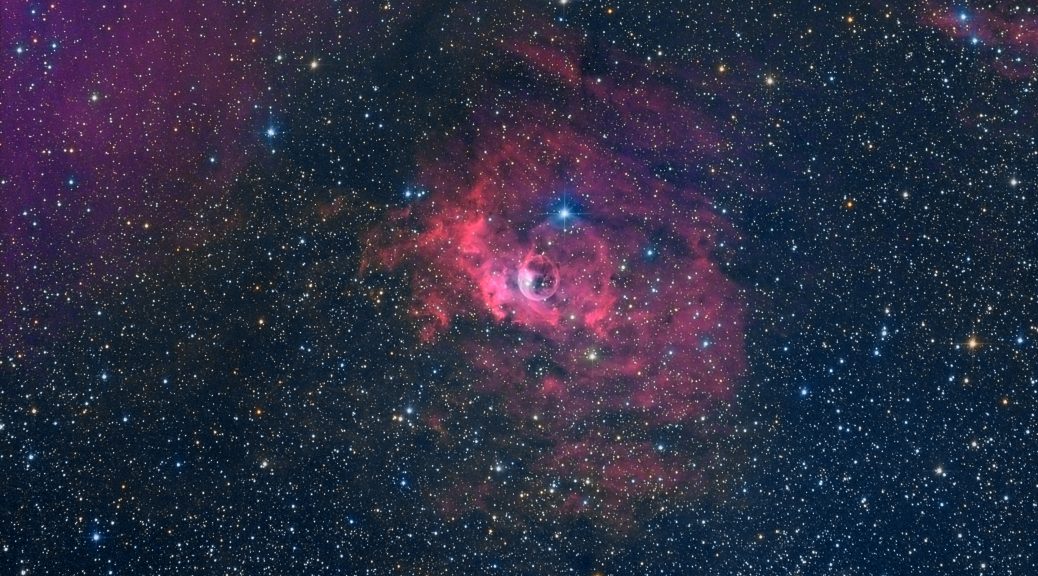
NGC7635 – Bubble Nebula

NGC7635 – Bubble Nebula
Image consists of
18x 300S – Luminance
14x 300S – Red
14x 300S – Green
14x 300S – Blue
20x 600S – Hydrogen Alpha (As lighten layer in Red Channel)

Equipment Used:
Imaging Scope: Sky-Watcher Quattro 8-CF 8″ F4 Newtonian
Guide Scope: Celestron C80ED
Imaging Camera: Atik Cameras 383L+ Mono CCD Cooled to -20C
Guide Camera: Qhyccd 5L-II
Mount: Skywatcher EQ8 Pro
Capture Software: Main Sequence Software Sequence Generator Pro
Guide Software: PHD2
Dark/Flat Subtraction and Stacking: Maxim-DL
Post Processing: Photoshop, GradientXterminator, NoiseNinja

My first image with the Skywatcher Quattro 8-CF F4

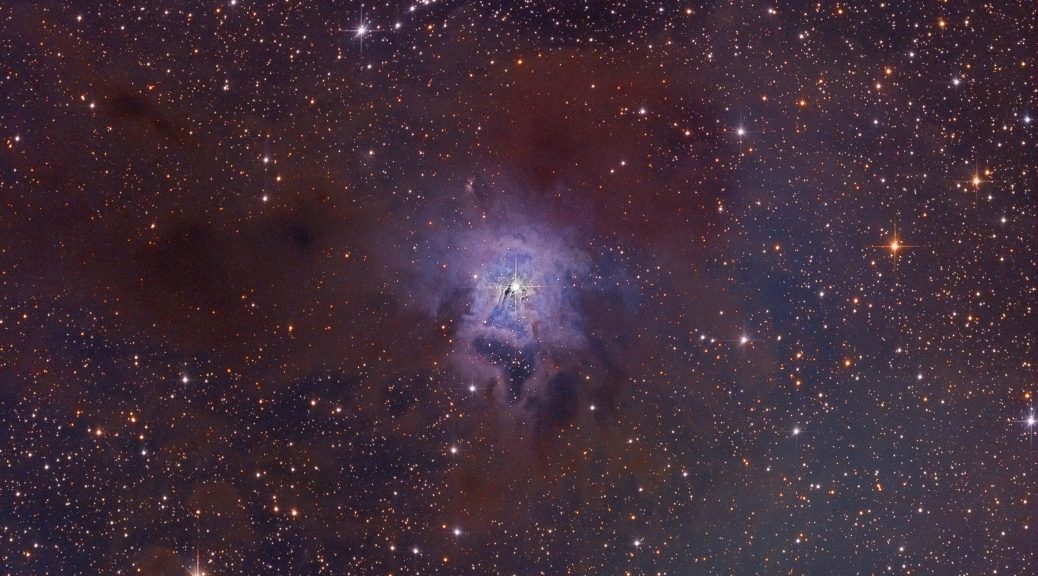
NGC7023 – Iris Nebula
The Iris Nebula, also NGC 7023 and Caldwell 4, is a bright reflection nebula and Caldwell object in the constellation Cepheus. NGC 7023 is actually the cluster within the nebula, LBN 487, and the nebula is lit by a magnitude +7 star, SAO 19158.[1] It shines at magnitude +6.8. It is located near the Mira-type variable star T Cephei, and near the bright magnitude +3.23 variable star Beta Cephei (Alphirk). It lies 1,300 light-years away and is six light-years across

This is the very first time I have imaged this object, and it is the first object ot be imaged with my new Skywatcher Quattro 8-CF F4 telescope, I am extremely happy with the results

The image consists of the following:
Luminance: 19x300S
Red: 13x300S
Green: 13x300S
Blue: 13x300S

All frames have 25 darks and 25 flats applied also

Gear Used
Mount: Skywatcher EQ8 Pro
Imaging Scope: Skywatcher Quattro 8-CF F4 Newtonian
Guide Scope: Celestron C80ED
Imaging Camera: Atik 383L+ Mono CCD Cooled to -20C
Filter Wheel: StarlightXpress 7x36mm USB Filterwheel
Guide Camera: QHYCCD 5L-II

Software Used
Image Acquisition: Sequence Generator Pro
Guiding: PHD2
Telescope Control: EQMOD

Image Processing:
Pre-Processing: Nebulosity 3
Stacking: Maxim-DL
Post Processing: PixInsight

My Observatory MkII

After deciding to move my equipment from the farm to home, to make my imaging tasks a bit easier, I decided I was going to design and build a roll-off roof oberservatory this time, this will allow me to possibly automate the roof later on, so for this I first had to dig down by 3ft in order to build the base for my Pier, inside this 3ft was also re-inforced bar going out to different angles to the surrounding earth and also straight down into the ground below the 3ft hole, it was then poured with concrete and the template for the steel pier bolts placed resulting in the following:

1434124682

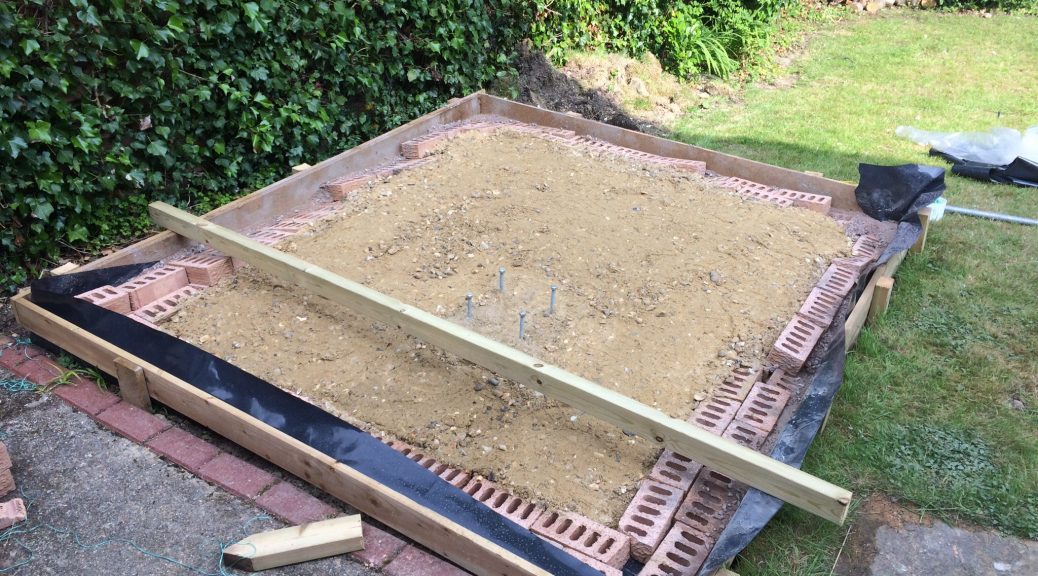
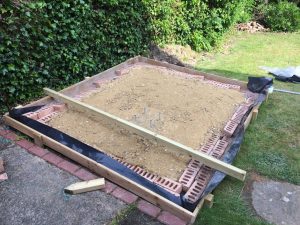
The base was an 8ft x 8ft base, but my observatory design was to be an 8ft x 6ft because I did not plan on being present in the observatory during imaging so I did not need that much space around the equipment, as you can see my garden slopes down quite a bit too.  The bricks around the outer edge were purely to allow me to pour concrete down the edges to get a smooth finish on the outside prior to be filling the whole base with concrete.

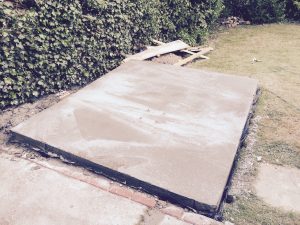
A few days later, the concrete arrived and was poured into the base resulting in the following image showing the concrete “Curing”

1434551516

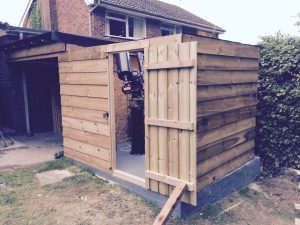
After the concrete had cured, I used a thin film of leveling compound on the observatory base just to give it a much cmoother floor and allow me to paint it with a nice clean dark grey concrete floor paint, and once dried I started constructing my observatory which resulted in the final build below:

1438026075

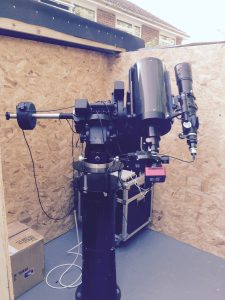
As you can see from the above image and the image below, I still had my Astro-Tech AT8RC which I have parted with in favour for an F4 Quattro Reflector which is now my primary imaging scope

scope2

I am extremely happy with the observatory, I am working through a design to allow the automation of the roof as well.  In total the construction of this obervatory took me no less than a few days to complete, I hope this inspires you folks out there contemplating building your own to get out there and do it!